What is Mastodon?
Mastodon is a decentralized social network comprised of separate servers focused on specific themes, topics, or interests. Users can join these servers, follow others, engage in conversations, and perform activities similar to what you’d typically do on platforms like Twitter.
Mastodon has been in existence since March 2016, but it gained significant popularity in late 2022, thanks to a notable acquisition of a particular social media platform.
A Mastodon website can function independently, much like a regular website. Users sign up, post messages, share pictures, and have conversations, similar to what you’d expect on any website. However, unlike traditional websites, Mastodon websites can connect and interact with each other. This means that users from different Mastodon websites can communicate, much like how you can send an email from your Gmail account to someone using Outlook, Fastmail, Protonmail, or any other email service, as long as you have their email address. In the same way, you can mention or send messages to anyone on any Mastodon website if you know their username or address.
Mastodon vs. Twitter: Exploring the Differences in Social Media Platforms
In the world of social media, Mastodon stands out because it’s all about people having control and being part of a community. It’s not like Twitter, which is really popular but has some problems like keeping your data private and not being clear about how its rules work.
Mastodon is different. It’s like a friendly neighborhood where everyone helps make the rules. On Twitter, special computer rules decide which posts you see first, which can make you only see similar things and never have a real conversation. But on Mastodon, you see posts in the order they were made, which makes it open and friendly.
What’s more, on Mastodon, you can even make your own neighborhood and have your own rules. You and your neighbors decide what’s okay and what’s not. This makes Mastodon a unique and user-friendly social place.
The Benefits of Hosting Your Own Instance
When it comes to Mastodon, you have choices: join an existing group or start your own. Let’s break it down. Joining an existing group is like moving into a ready-made neighborhood; you’re part of a community right away. But you can’t customize much. On the other hand, having your own group has lots of benefits. You’re the boss; you can make it look and work as you like. You decide the rules, creating a cozy place for you and your friends. Your data is yours, so privacy is no problem.

Creating Your Own Mastodon Server
Before you start your own Mastodon community, remember a few things. You’ll need a server or instance. Also, you must have a proper domain. You can get a domain from any domain provider, and they offer different servers, too. The server you choose depends on how many people will use your Mastodon and how active it is. If you want more options, they have different server configurations too.
Pre-requisites
- A computer running Ubuntu 20.04 or Debian 11, where you have full administrative access (root access).
- Choose a domain name (or subdomain) for your Mastodon server, for example, example.com.
- An email delivery service or another SMTP server.
Creating a mastodon System User and granting it administrative privileges
To begin, go to the root and create your Mastodon user using the ‘adduser’ command.
sudo su -adduser mastodonFollowing that, add your Mastodon user to the sudo group to provide it with administrative privileges:
usermod -aG sudo mastodonSetting Up Mastodon: Installing Dependencies and Cloning the Repository
Before proceeding, ensure that you have installed curl, wget, GnuPG, apt-transport-https, lsb-release, and ca-certificates.
apt install -y curl wget gnupg apt-transport-https lsb-release ca-certificates
Node.js
curl -sL https://deb.nodesource.com/setup_16.x | bash -install Node.js 16.x and npm
apt-get install -y nodejsYou might also require development tools for creating native add-ons.
apt-get install gcc g++ makeTo install the Yarn package manager, run:
curl -sL https://dl.yarnpkg.com/debian/pubkey.gpg | gpg --dearmor | sudo tee /usr/share/keyrings/yarnkey.gpg >/dev/nullecho "deb [signed-by=/usr/share/keyrings/yarnkey.gpg] https://dl.yarnpkg.com/debian stable main" | sudo tee /etc/apt/sources.list.d/yarn.listapt-get update
apt-get install yarnwget -O /usr/share/keyrings/postgresql.asc https://www.postgresql.org/media/keys/ACCC4CF8.ascecho "deb [signed-by=/usr/share/keyrings/postgresql.asc] http://apt.postgresql.org/pub/repos/apt $(lsb_release -cs)-pgdg main" > /etc/apt/sources.list.d/postgresql.listInstall System packages
apt updateapt install -y \
imagemagick ffmpeg libpq-dev libxml2-dev libxslt1-dev file git-core \
g++ libprotobuf-dev protobuf-compiler pkg-config nodejs gcc autoconf \
bison build-essential libssl-dev libyaml-dev libreadline6-dev \
zlib1g-dev libncurses5-dev libffi-dev libgdbm-dev \
nginx redis-server redis-tools postgresql postgresql-contrib \
certbot python3-certbot-nginx libidn11-dev libicu-dev libjemalloc-devTo use yarn, activate Node.js’s corepack, which is included by default.
corepack enableYarn has two distinct development paths, one being version 1.0 (known as classic), and the other being version 2.0. Mastodon specifically needs the classic version of yarn. You can enable this classic version using the command: “yarn set version”.
yarn set version classicInstalling Ruby
To make managing Ruby versions simpler and more efficient, we’ll use rbenv. With rbenv, it’s easier to obtain the correct Ruby versions and update them when new releases become available. However, it’s important to note that rbenv must be installed for a specific Linux user. Therefore, the first step is to create the user that Mastodon will run as.
switch to mastodon user
su - mastodongit clone https://github.com/rbenv/rbenv.git ~/.rbenvcd ~/.rbenv
src/configure
make -C srcecho 'export PATH="$HOME/.rbenv/bin:$PATH"' >> ~/.bashrcecho 'eval "$(rbenv init -)"' >> ~/.bashrcexec bashgit clone https://github.com/rbenv/ruby-build.git ~/.rbenv/plugins/ruby-buildRUBY_CONFIGURE_OPTS=--with-jemalloc rbenv install 3.2.2To set this Ruby version as the new default.
rbenv global 3.2.2gem install bundler --no-documentIf you find the new version of Gem use this command to install
gem update --system 3.4.20Setting up PostgreSQL
You should create a PostgreSQL user for Mastodon. In a basic setup, the simplest approach is to use “ident” authentication. This means that the PostgreSQL user doesn’t have a separate password and can be accessed by the Linux user with the same username.
sudo -u postgres createuser --interactiveOutput Enter name of role to add: mastodon Shall the new role be a superuser? (y/n) y
Setting up Mastodon
To obtain the latest stable release of Mastodon, use Git to download the code.
cd /home/mastodon/ git clone https://github.com/mastodon/mastodon.git live
cd livegit checkout $(git tag -l | grep '^v[0-9.]*$' | sort -V | tail -n 1)Installing the last dependencies
bundle config deployment 'true'
bundle config without 'development test'
bundle install -j$(getconf _NPROCESSORS_ONLN)yarn install --pure-lockfileThe two “bundle config” commands are necessary only during the initial dependency installation. If you plan to update or reinstall dependencies at a later time, you can simply use “bundle install.”
Run the interactive setup of Mastodon
RAILS_ENV=production bundle exec rake mastodon:setupPlease enter your domain name. make sure your input is accurate because changing it later can be challenging.
Mastodon offers a single-user mode where registrations are disabled. If your goal is to create a shared space with others, it’s important not to enable the single-user mode.
Your instance is identified by its domain name. Changing it afterward will break things.
Domain name: example.com

Do you want to enable single user mode? (y/N) N

Are you using Docker to run Mastodon? (Y/n) N
During the PostgreSQL setup, you can keep all the settings as their defaults by simply pressing Enter for each prompt. Your database doesn’t rely on a password for authentication; instead, it uses peer authentication, which we’ll explain further later on. For now, you can leave these settings empty.
PostgreSQL host:(/var/run/postgresql) /var/run/postgresql
PostgreSQL port: (5432) 5432
Name of PostgreSQL database: (mastodon_production) mastodon_production
Name of PostgreSQL user: (mastodon) mastodon
Password of PostgreSQL user:
Database configuration works!
Since this database is meant to be accessible only locally on this server, there’s no need to set up a password so, you can keep the Redis settings at their default values, and you can leave the password field empty. Just press Enter for each prompt.
Redis host:(localhost) localhost
Redis port:(6379) 6379
Redis password:
Redis configuration works!
In the next step, you have two options: use local storage or set up cloud storage with various providers. you’ll be prompted to decide how you want to handle file storage for Mastodon. If you prefer local storage please select “No.” if you want to store on cloud storage an immediate cloud storage solution is ready.
Do you want to store uploaded files on the cloud? (y/N) N
Mastodon needs access to an SMTP email server to send emails. Maintaining a secure and reliable email server is challenging, so an external provider is recommended. It’s best to use an external email service provider. Note that most charges are based on usage, and some offer a free tier up to a certain limit. Use your discretion in this situation.
When using email providers, you’ll need to create and configure an account. After signing up, you typically have to verify your domain by adding DNS records. You’ll also require an API key for secure authentication. The exact process varies by provider.
Do you want to send e-mails from localhost? No
SMTP server: (smtp.mailgun.org) smtp.mailgun.org
SMTP port: (587) 587
SMTP username:
SMTP password:
SMTP authentication: (plain)

SMTP OpenSSL verify mode: none

Enable STARTTLS: auto

E-mail address to send e-mails "from":mastodon<[email protected]>

Send a test e-mail with this configuration ? (Y/n)Y

Do you want Mastodon to periodically check for important updates and notify you? (Recommended) (Y/n) Y

This configuration will be written to .env.production
Save configuration? (Y/n) Y

Now that configuration is saved, the database schema must be loaded.
If the database already exists, this will erase its contents.
Prepare the database now? Yes
Running `RAILS_ENV=production rails db:setup` ...


Created database 'mastodon_production'
Done!

The final step is compiling CSS/JS assets.
This may take a while and consume a lot of RAM.
Compile the assets now? Yes
Your Mastodon server is ready, but it’s not running yet. You’ll be prompted to create an administrator account for logging into your Mastodon server.
Do you want to create an admin user straight away? (Y/n) Y
Username: (admin)
E-mail:
To check the contents of your generated Mastodon configuration file, open it using the “nano” text editor or your preferred text editor.
vim ~/live/.env.productionSetting Up Nginx for Mastodon with Certbot
Setting up Certbot
sudo certbot certonly --nginx -d <your_domain>Setting up Nginx
sudo cp /home/mastodon/live/dist/nginx.conf /etc/nginx/sites-available/mastodonsudo ln -s /etc/nginx/sites-available/mastodon /etc/nginx/sites-enabled/mastodonOpen the file located at /etc/nginx/sites-available/mastodon in a text editor.
sudo vim /etc/nginx/sites-enabled/mastodon Inside this file, replace all instances of “example.com” with your own domain name. Make any other necessary adjustments according to your configuration needs. Look for lines beginning with “ssl_certificate” and “ssl_certificate_key.” Remove the “#” symbol at the beginning of these lines to uncomment them. Then, replace the path in these lines with the correct file paths for your SSL certificate and key, which should correspond to your domain name. Save the file, after making the changes.
sudo systemctl reload nginxSetting up systemd services
Please copy the systemd service templates from the Mastodon directory and paste in the systemd/system directory
sudo cp /home/mastodon/live/dist/mastodon-*.service /etc/systemd/system/If you made any changes from the default settings, please double-check that the username and file paths are accurate.
sudo vim /etc/systemd/system/mastodon-*.serviceLastly, begin and activate the new systemd services.
sudo systemctl daemon-reloadsudo systemctl enable --now mastodon-web mastodon-sidekiq mastodon-streamingsudo systemctl start mastodon-sidekiq mastodon-webThese services will now start automatically during boot.
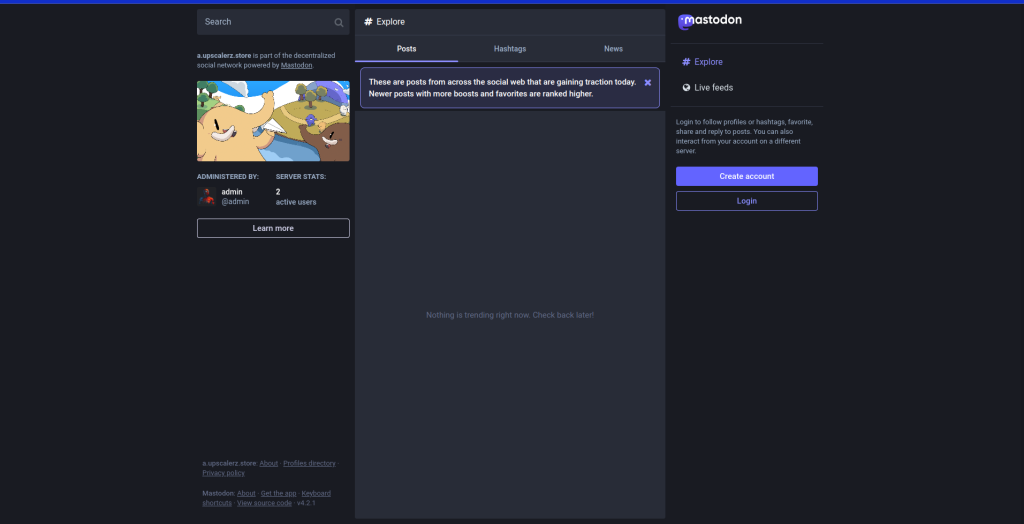
To access your mastodon toy need to copy your domain and search on the browser it will open your mastodon account click on login and login with the credentials you get while setting up mastodon.

